A Guide to Hiking in the Smoky Mountains
Like most people who had cancelled trips and crushed dreams thanks to COVID, we needed a drivable getaway. Following the outdoor/road trip travel trends, we looked at hiking close to home. Having never gone hiking before, this was a new type of trip planning for us. What trails would we choose? What gear should we pack? How do we prep for a bear sighting?! And our Smoky Mountains hiking guide was born…
Where to Go?
Just based on driveability, The Smoky Mountains was the perfect distance – a 6 hour drive from Indianapolis that we could do over a long weekend. We cut through gorgeous mountains and took a fun pitstop in Lexington – which we highly recommend. Breaking up the drive and checking out cities along the way only added to our trip and put Lexington on our radar.
Where to Stay?
What was unique about this trip is that we purposefully stayed at two different places – one for convenience and one for the experience:
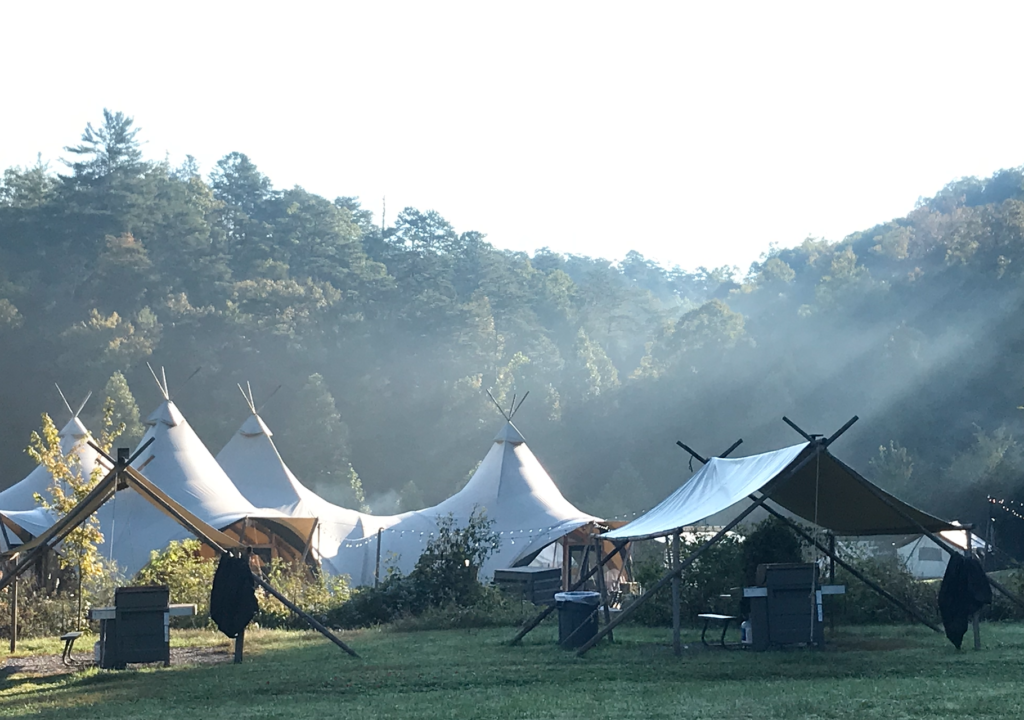
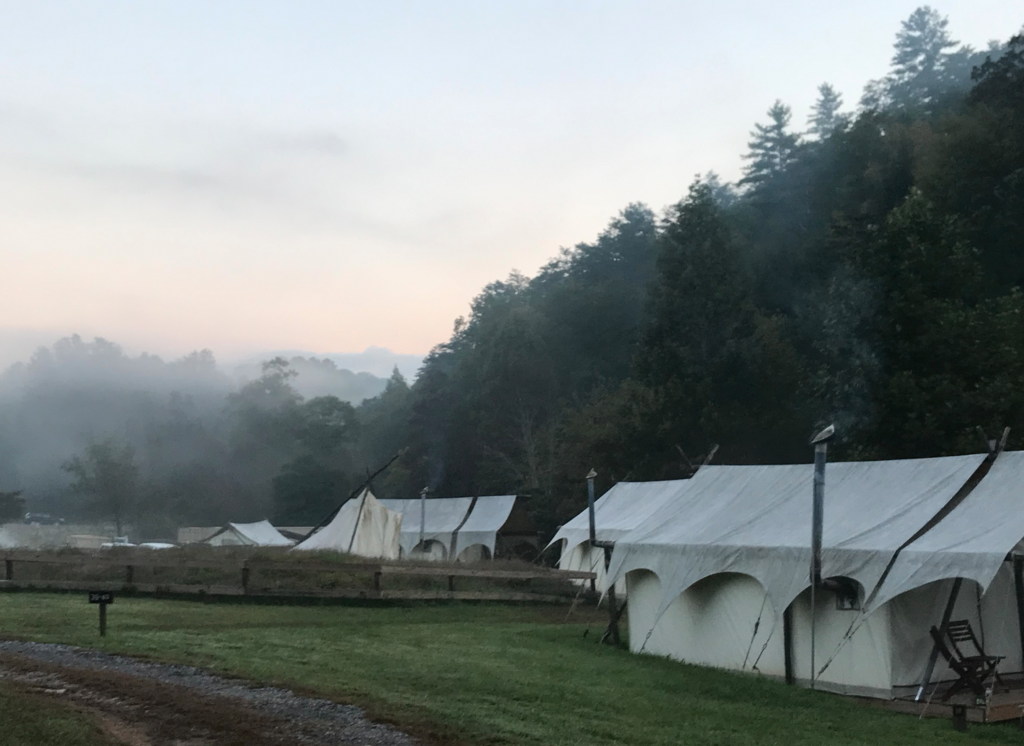
Glamping with Under Canvas – What actually spurred our entire trip was this tent. We’d heard about Under Canvas through the grapevine and loved the idea of making our accommodations a part of the adventure. We could try camping in luxury and sleep right out in nature. It ended up being a pretty cool stay – we made smores, started a fire from scratch and got a taste of glamping. It was quite pricey and we don’t suggest staying for more than a night (unless you enjoy yanking a chain for hot water). But it was definitely a memorable part of our trip.
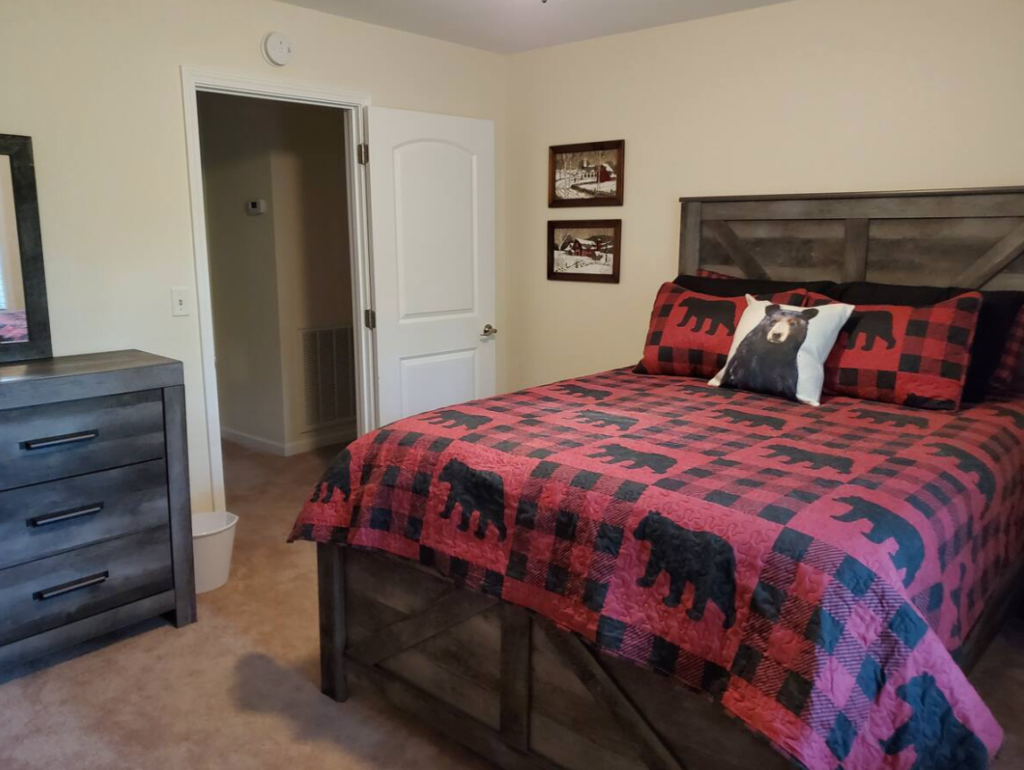
Airbnb – Ah, our favorite go-to. You really can’t go wrong if you do your research, pick a superhost and read those reviews! We chose to rent a room at David’s house. Our stay was top notch – better than any ho-hum hotel in downtown Gatlinburg. Our room had a flat screen TV, heated fireplace and was only 10 minutes from the Smoky Mountain National Park entrance. Did we mention the breakfast?! Free continental breakfast every morning with all the goodies you could imagine. You may even see a bear walk right by the front door 🙂


What Smoky Mountains Trails to Hike?
Our plan was to do an easy, scenic trail on Day 1 and try something more rugged that would take 3-4 hours on Day 2. So we scoured Pinterest for trail recommendations and found some helpful posts. Check them out below:
TIP: Even if you’ve got your trails picked out, head to the information center at the park entrance first. You can grab some free maps and talk with a park ranger. They’ll give great advice – like how far you’ll have to drive to specific trails – and put some new hikes on your radar.

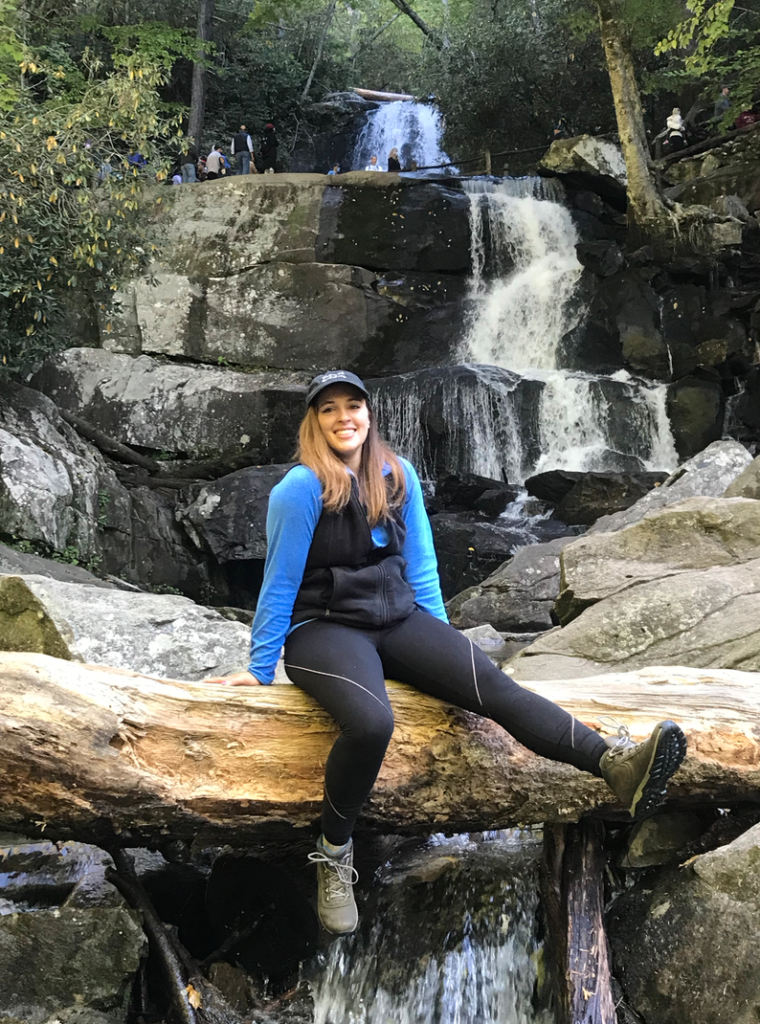
Laurel Falls – This trail is super popular and for good reason: It’s an easy loop with a paved pathway that’s only a couple minute drive from the park entrance. You get some really beautiful views of the mountains and the waterfall at the end of the trail is fun to climb on. It only took us 1.5 hours to complete and was a great way to kickstart our trip. Tip: Go early! By about 10:15 am, the trail was already packed.
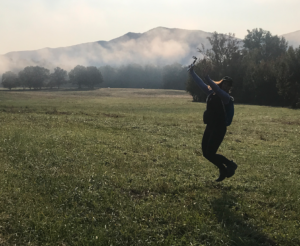
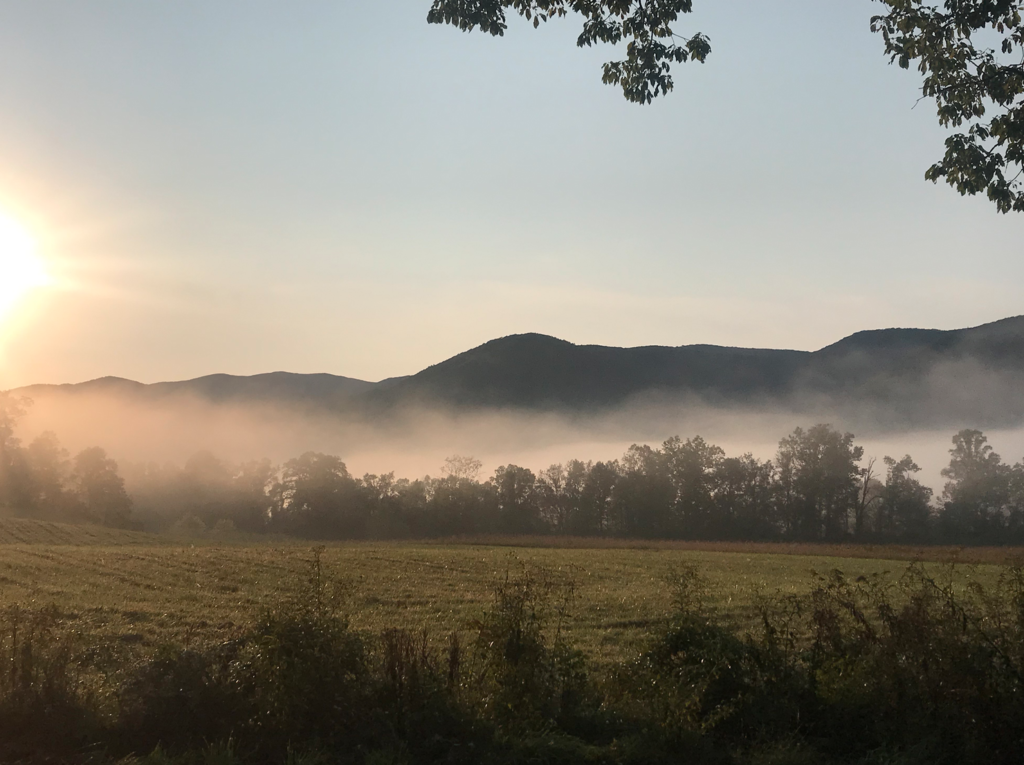
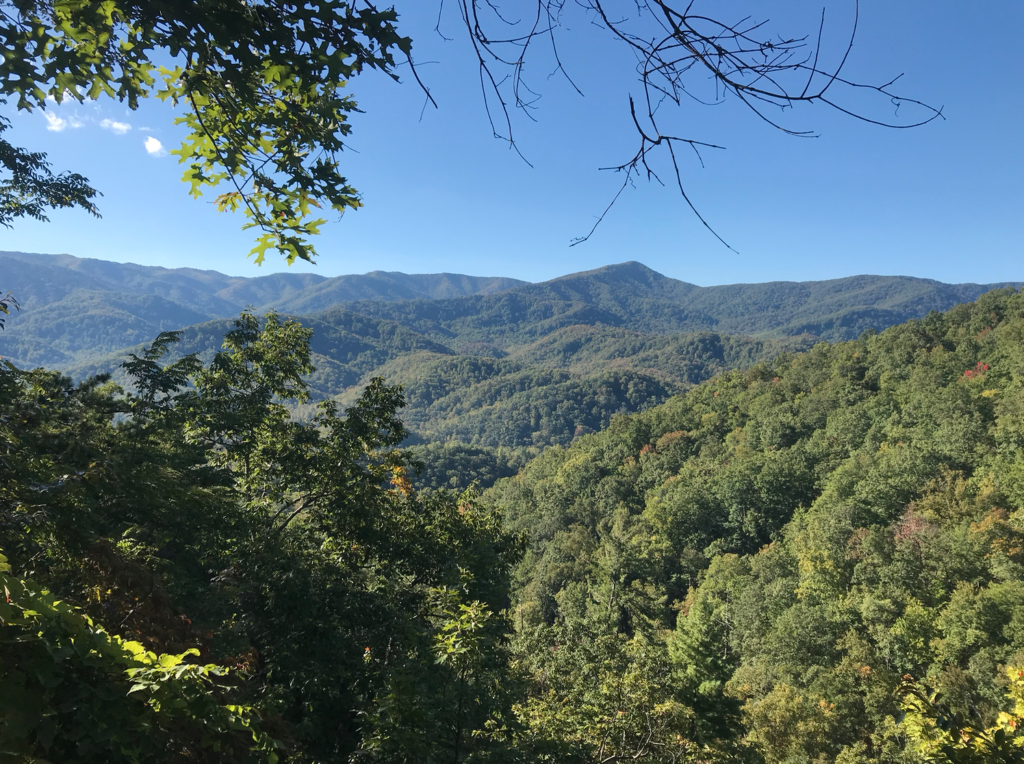
Cades Cove – This was one of our favorite things on the trip. It’s a driving loop with some stunning views. But it does take about 45 minutes to get there and the signage is confusing. You’ll know when you’ve arrived because the scenery opens up into this magical place with deer grazing through the fields as the fog rolls in. Since it’s a scenic drive, be prepared for a lot of stopping and starting as cars pull over to take pictures. Tip: get up early and go around sunrise. You’ll have way less traffic and seeing the fog roll over the mountains will be worth that extra cup of coffee you’ll need.
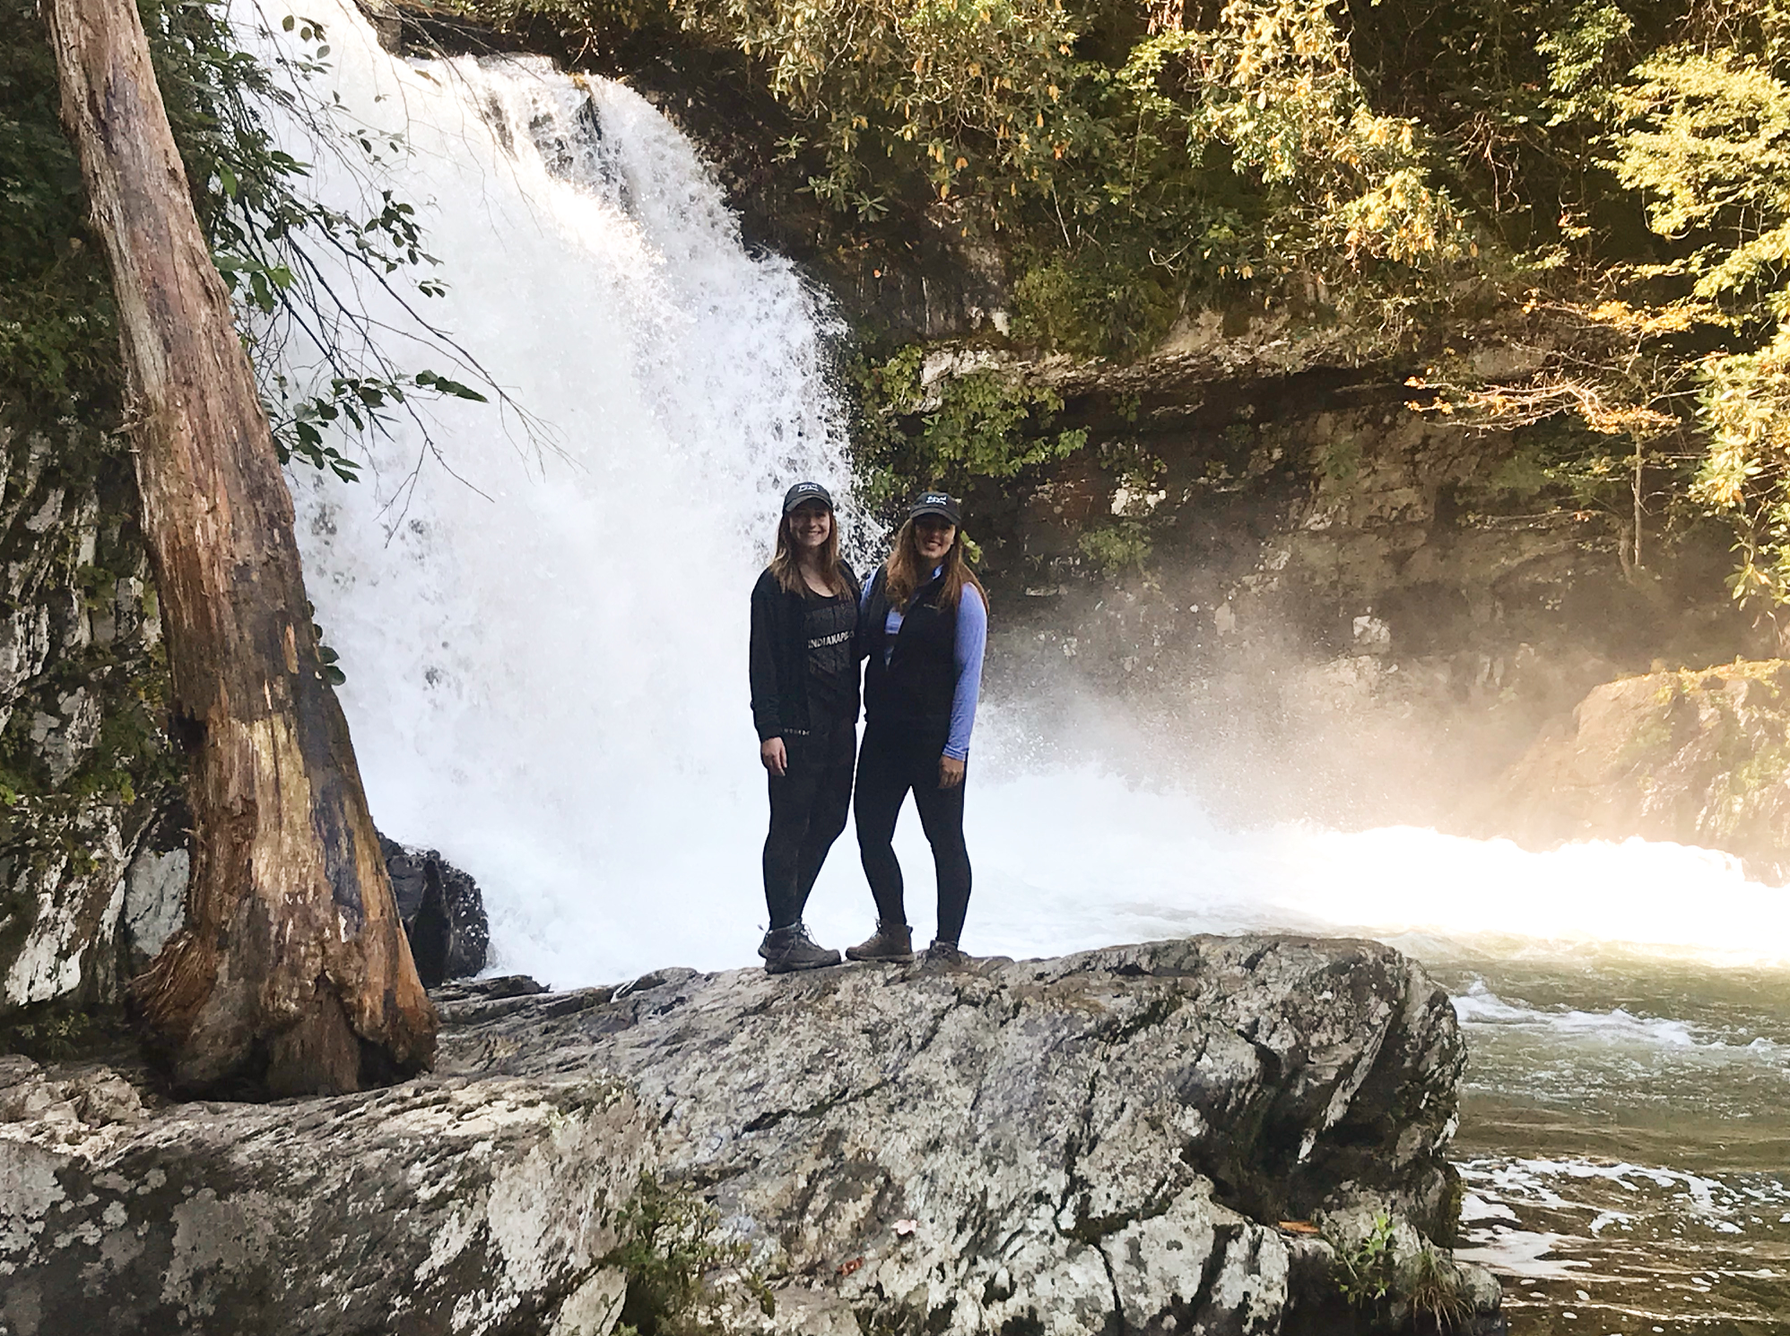
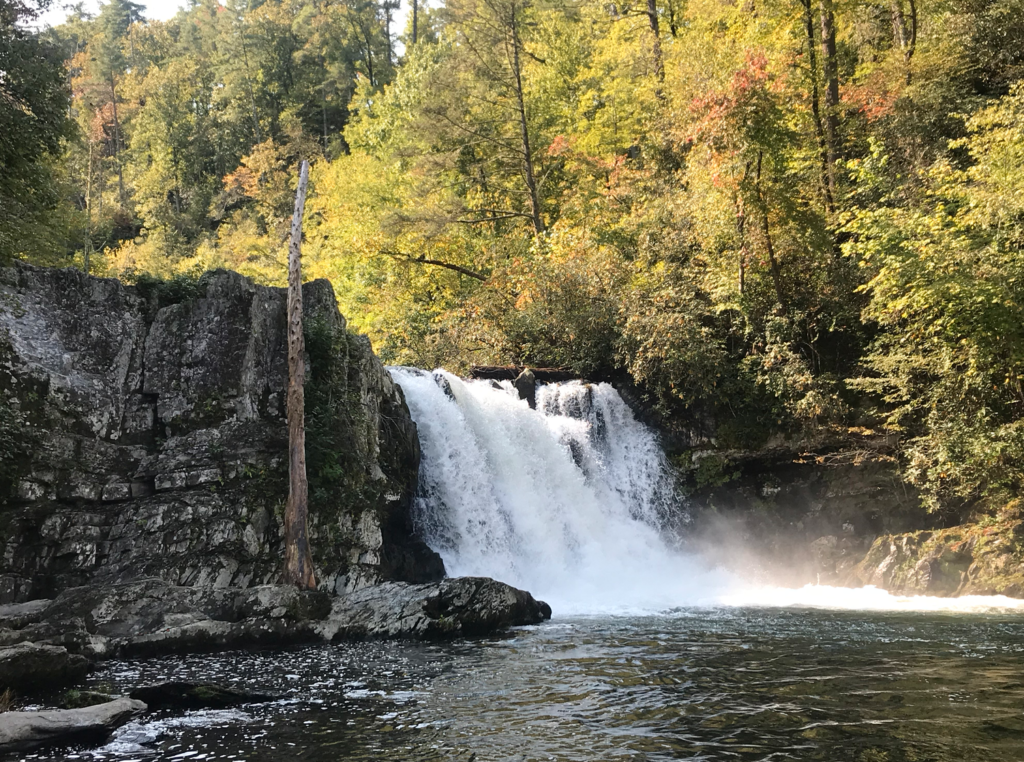
Abrams Falls – Contrary to our original understanding, it is not located right at the park entrance. The good news is you’ll find this trail about halfway through Cades Cove (so make sure to account for some drive time). Strap on your hiking boots and get ready for a real workout that’ll take around 3-4 hours with some rugged inclines. A perk is that there were a lot less people on the trails, so we got to take in the beautiful view of the falls without a crowd.
What to Bring?
This was one of the biggest questions on our mind, since we hadn’t hiked before. After doing two very different hikes, here’s what we’d recommend you pack:
Apparel
- Hiking boots – We both got a pair of waterproof boots before the trip (REI has great choices) and it was worth the investment. The boots held up beautifully against the waterfalls and rough terrain. Having good traction definitely helped prevent a rolled ankle too.
- Fanny pack – This was a great way to keep a few things handy without having to dig through our backpacks. Pop your phone, hand sanitizer and maybe some pepper spray (we brought this instead of bear spray) in and you’re set.
- Nice hiking bag – You don’t have to have a nice bag – any over the shoulder bag will work. However, having an actual hiking backpack makes the trip a bit easier on your back.
- Layers – We cannot recommend bringing/wearing layers enough! We started both hikes pretty early in the morning, so it was chilly. Long sleeves, vests and lightweight jackets were the name of the game. Once you really get hiking though, it warms up quickly. No matter the time of the year, pack a few different layers. You’ll regret it if you’re miserably hot or cold because you didn’t plan ahead.
- Special socks – REI sold us some special hiking socks, which we were both skeptical of at first. It seemed like a way to talk newbie hikers into spending more money, but the extra padding did help with blisters. And trust us, the last thing you want is to have a blister when you’re hiking 3-4 hours.
Accessories
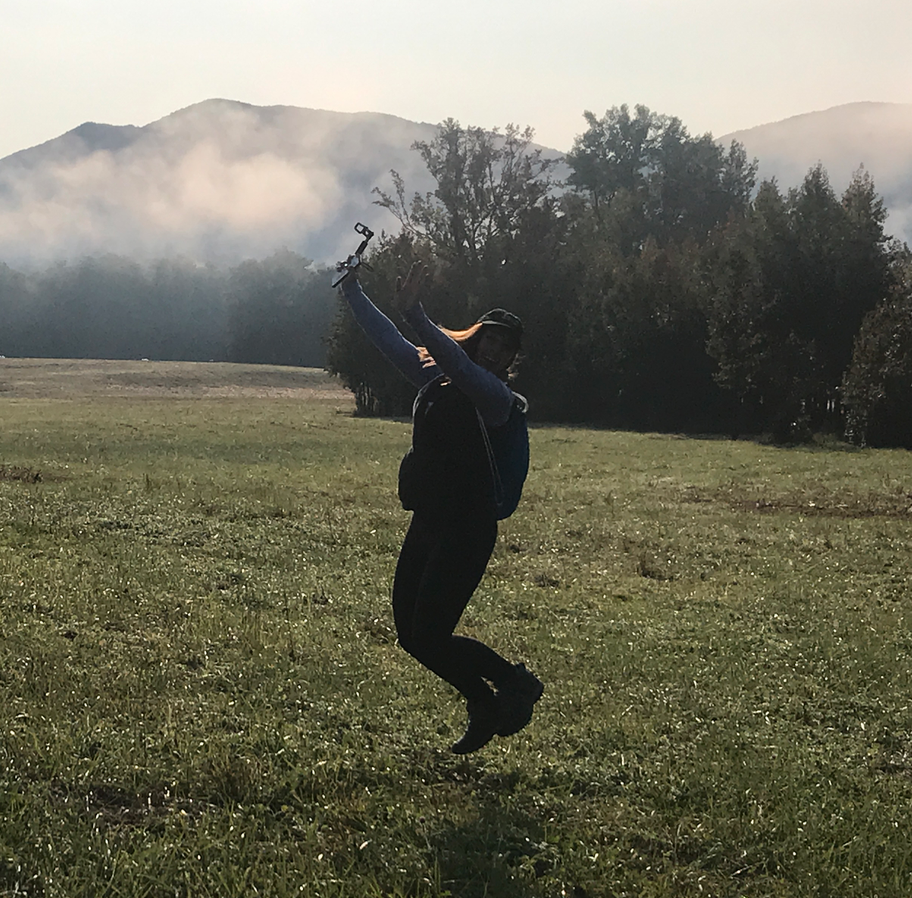
- Drone – What better place to test out your drone skills than in the open outdoors? This is obviously not a necessity, but if you have one, bring it along. We flew the drone around the entrance to Abrams Falls and had a lot of fun trying to get some good shots of the mountains. Plus, the likelihood of crashing it into things was way less 🙂
- Transportable phone charger – If you plan to take a lot of photos or videos, you’ll want one of these. There’s nothing worse than having your phone die halfway through and missing that epic photo of the falls. You’ll lose reception fast, so this is purely to keep your battery charged for photos.
- First Aid Kit – Boy, were we happy to have this kit on hand. Bandaids were already used on Day 1 (hey, we’re clumsy). It was also a nice thing to have in case of an emergency.
- Snack packs – If you plan to do a several hour hike like Abrams Falls, you’ll want to bring snacks to enjoy with the view. We brought a few trail mix and protein packs, which are easy items to carry. Tip: Bring snacks that are sealed just as an extra precaution to keep animals at bay. Don’t forget to bring a bottle of water or gatorade too.
Other Tips & Tricks:
-Stay away from downtown Gatlinburg or only plan to go in for a night to do something touristy (all of the charm is in the mountains). You’ll end up spending your time in lines, pushing through crowds or endlessly searching for a place to eat dinner.
-Brush up on bear etiquette, but don’t go overboard (you probably won’t see one). Make sure you know what to do if you happen to see a bear and how to prevent bad encounters. It’s better to be over prepared and feel confident on the trails!